Coastal Glow-Up: Light & LRV Secrets for Renters (No Paint Allowed!)
The Coastal Grandmother aesthetic. Visions of Nancy Meyers films dance in our heads: crisp linen, sun-drenched interiors, and the gentle murmur of the ocean. But what if your reality is less Hamptons haven and more… rented flat with a distinctly landlocked vibe? And what if, horror of horrors, your bathroom is both windowless and subject to the dreaded “no painting allowed” clause in your lease? Fear not, aspiring Coastal Grandmothers, because we’re about to embark on a technical masterclass, a deep dive into the often-overlooked power of light and LRV (Light Reflectance Value) to transform even the most challenging rental bathroom into a tranquil, light-filled oasis.
This isn’t about wishful thinking; this is about strategy. We’re going to exploit every loophole, leverage every trick of the eye, and bend the rules (figuratively, of course, because nobody wants to risk losing their deposit) to create a bathroom that exudes that effortlessly chic, casually luxurious Coastal Grandmother charm. Get ready to become a master of illumination, a whisperer of whites, and a guru of grey… all without lifting a single paintbrush.
The LRV Lowdown: Your Secret Weapon
Let’s talk LRV. Light Reflectance Value might sound like something best left to paint manufacturers, but it’s your secret weapon in the battle against gloomy, dark spaces. LRV is a measurement of how much light a colour reflects. It ranges from 0 (absolute black) to 100 (pure white). The higher the LRV, the more light is reflected, and the brighter the space will feel. In a windowless bathroom, this is absolutely critical.
Think about it: you’re starting with a deficit. No natural light means you need to work twice as hard to compensate. This is where high-LRV surfaces come in. We’re not just talking about “white”, though. There’s a world of off-whites, creams, and the palest greys, all with varying degrees of reflectivity. These subtle differences can have a huge impact.
Consider using a paint colour match service, like those offered at DupeCoat.app, to find materials that closely approximate high LRV shades. This doesn’t just apply to paint (which, remember, we can’t use!). Think about towels, shower curtains, bath mats, and even accessories. Choosing items in the same LRV range creates a cohesive and airy feel.
Beyond White: Exploring the Pale Palette
While white is the obvious choice for maximising light, it can sometimes feel a bit sterile, especially in a bathroom. The trick is to find colours that offer a similar level of reflectivity but with a touch more personality. Soft greys with warm undertones, pale blues reminiscent of the sea, and creamy off-whites can all work beautifully. Look for colours with an LRV of 70 or higher.
NCS (Natural Colour System) is a great resource for identifying colours with specific LRV values. It’s a standardised colour notation system used by many designers and manufacturers. Understanding NCS codes can help you communicate your colour preferences more precisely and ensure you’re choosing materials with the desired light-reflecting properties.
Lighting is Everything: Mastering the Art of Artificial Illumination
In a windowless bathroom, your lighting isn’t just functional; it’s transformative. It’s the artist’s brush, the magician’s wand, the key to unlocking that Coastal Grandmother glow. Forget harsh, fluorescent tubes. We need layers of light, carefully considered to mimic the soft, diffused glow of natural sunlight.
Layering Light: A Three-Pronged Approach
- Ambient Lighting: This is your overall, general illumination. Instead of a single, harsh overhead light, consider a flush-mount ceiling fixture with a diffused glass or fabric shade. Look for something that emits a warm, inviting light, around 2700-3000 Kelvin (K). Avoid anything too cool or blue-toned, as it can feel sterile and clinical.
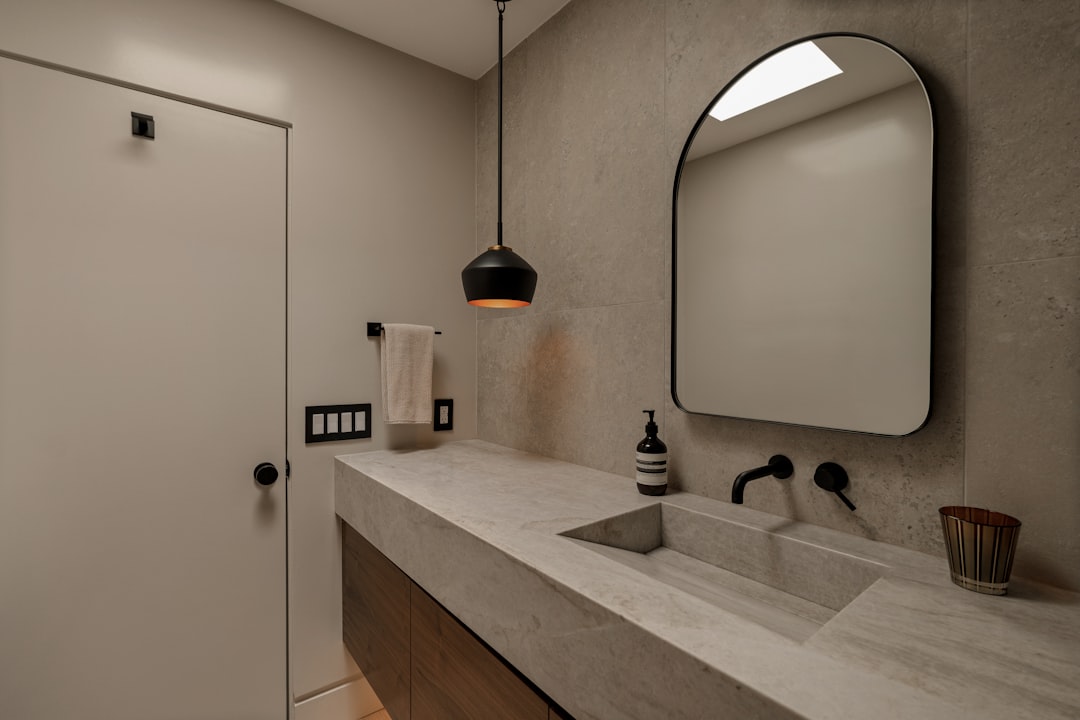
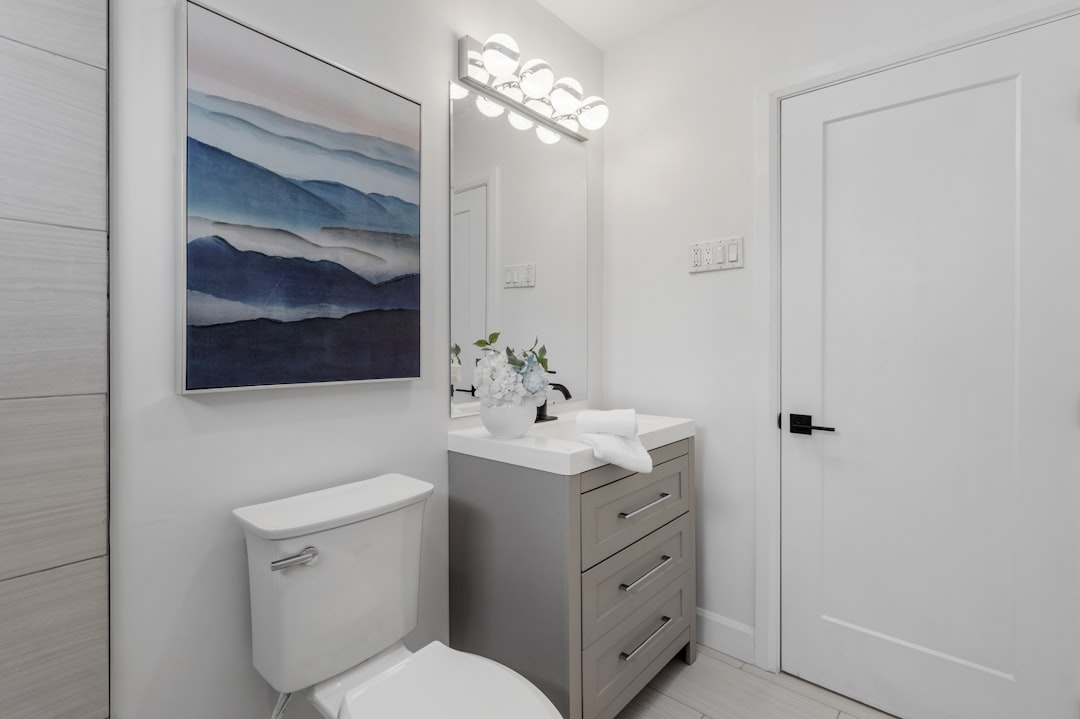
- Task Lighting: This is focused lighting designed to help you perform specific tasks, such as applying makeup or shaving. Install sconces or vanity lights flanking your mirror. Again, opt for warm light, and consider fixtures with adjustable brightness so you can customise the illumination to your needs.
- Accent Lighting: This is where you can really get creative. Use accent lighting to highlight architectural features (even if they’re limited in a rental!), create a sense of depth, and add a touch of personality. Think about battery-operated string lights draped around a mirror, a small table lamp on a shelf, or even illuminated artwork.
Bypassing Hardwiring: Rental-Friendly Lighting Solutions
Of course, the “no painting allowed” clause often extends to electrical work. Thankfully, there are plenty of rental-friendly lighting solutions that require no hardwiring. Battery-operated sconces, plug-in pendant lights, and even stick-on LED strip lights can all be used to create a layered and inviting lighting scheme.
Don’t underestimate the power of smart bulbs. These allow you to control the colour temperature and brightness of your lights from your phone, so you can easily adjust the lighting to suit your mood and the time of day.
Accessorising for Maximum Impact: The Finishing Touches
With the right LRV surfaces and lighting in place, it’s time to add the finishing touches that will truly bring your Coastal Grandmother bathroom to life.
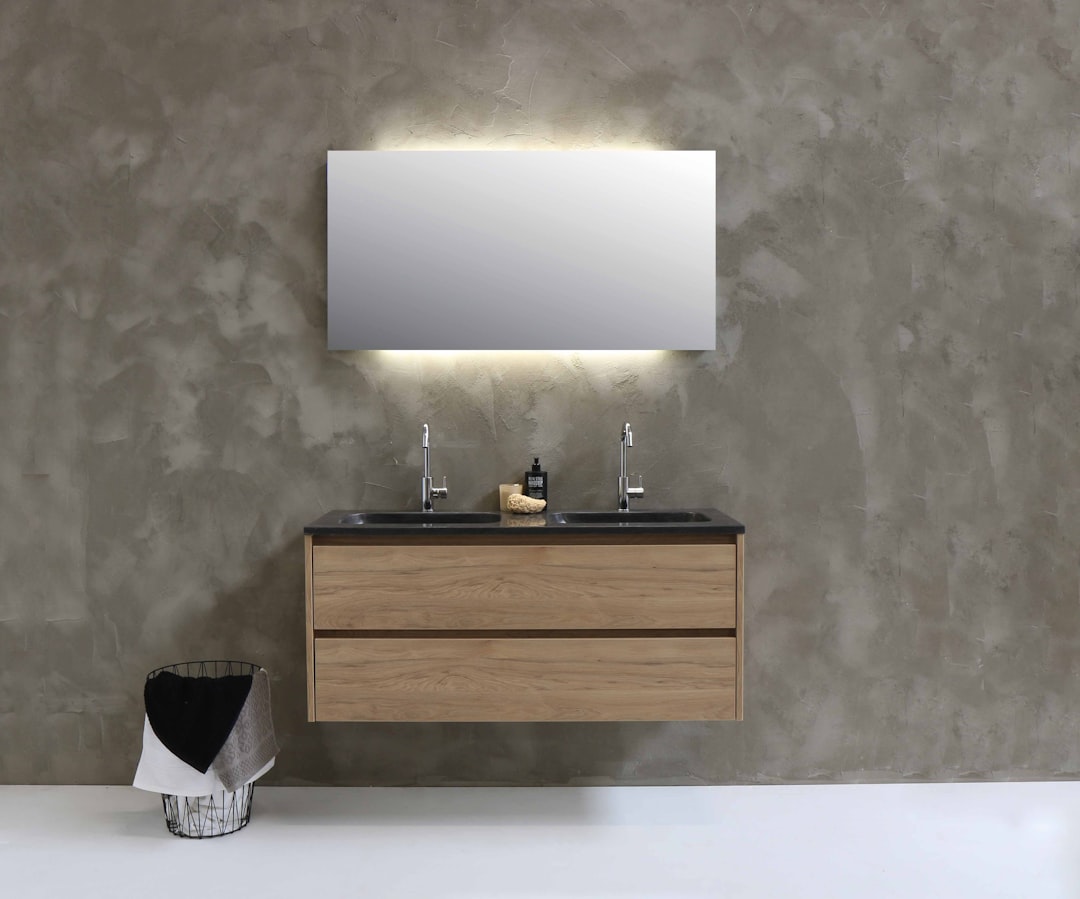
- Mirrors, Mirrors, Everywhere: Mirrors are your best friend in a small, windowless space. They reflect light, create the illusion of space, and add a touch of glamour. Use a large mirror above your sink, and consider adding smaller mirrors to other walls to bounce light around the room.
- Textiles: The Power of Texture: Layering different textures is key to creating a sense of warmth and visual interest. Think crisp linen towels, a chunky knit bath mat, and a woven basket for storing toiletries. Natural materials like cotton, linen, and jute will enhance the Coastal Grandmother aesthetic.
- Greenery (Real or Faux): Even a small sprig of greenery can bring life and vibrancy to a bathroom. Choose low-maintenance plants that thrive in humid environments, such as ferns, orchids, or snake plants. If you don’t have a green thumb, high-quality faux plants can be just as effective.
- Accessorising Strategically: Choose accessories in light, neutral colours to complement the overall palette. Think white ceramic soap dispensers, glass jars filled with cotton balls, and silver-toned hardware. Avoid anything too dark or bulky, as it can weigh down the space.
British Standards and Regulations: Keeping it Safe
While we’re focusing on aesthetics, it’s crucial to ensure your bathroom is safe. British Standards (BS) provide guidelines for electrical safety in bathrooms, particularly regarding the placement of electrical fixtures and the use of RCDs (Residual Current Devices). Always consult a qualified electrician if you’re unsure about any electrical work. Furthermore, be aware of your landlord’s rules – it’s always best to check before making any changes, even seemingly minor ones. You can use a paint calculator to approximate coverage requirements.
The End Result: A Coastal Sanctuary
Creating a Coastal Grandmother bathroom in a rented flat with no natural light and a “no painting” policy might seem like an impossible feat, but with the right knowledge and a bit of creativity, it’s entirely achievable. By understanding the principles of LRV, mastering the art of artificial illumination, and accessorising strategically, you can transform even the most challenging space into a tranquil, light-filled sanctuary that embodies the effortless charm of the Coastal Grandmother aesthetic. So, ditch the gloom, embrace the glow, and prepare to bask in the beauty of your newly transformed bathroom.
Photography by Sanibell BV via Unsplash, Point3D Commercial Imaging Ltd. via Unsplash, Peter Muniz via Unsplash