Here’s your editorial:
From Drab to Fab: A Utility Room Makeover for Light & Life
Let’s face it, the utility room. It’s the unsung hero, the workhorse, the repository of muddy boots, dog-eared bills, and the ever-present tumble dryer. Often relegated to the darkest corner of the house, it’s a space ripe for neglect. But why should it be? Just because it’s functional doesn’t mean it can’t be fabulous. We’re not talking about a radical structural overhaul here; we’re talking about a strategic makeover that will breathe life, light, and yes, even a touch of joy into this often-overlooked space.
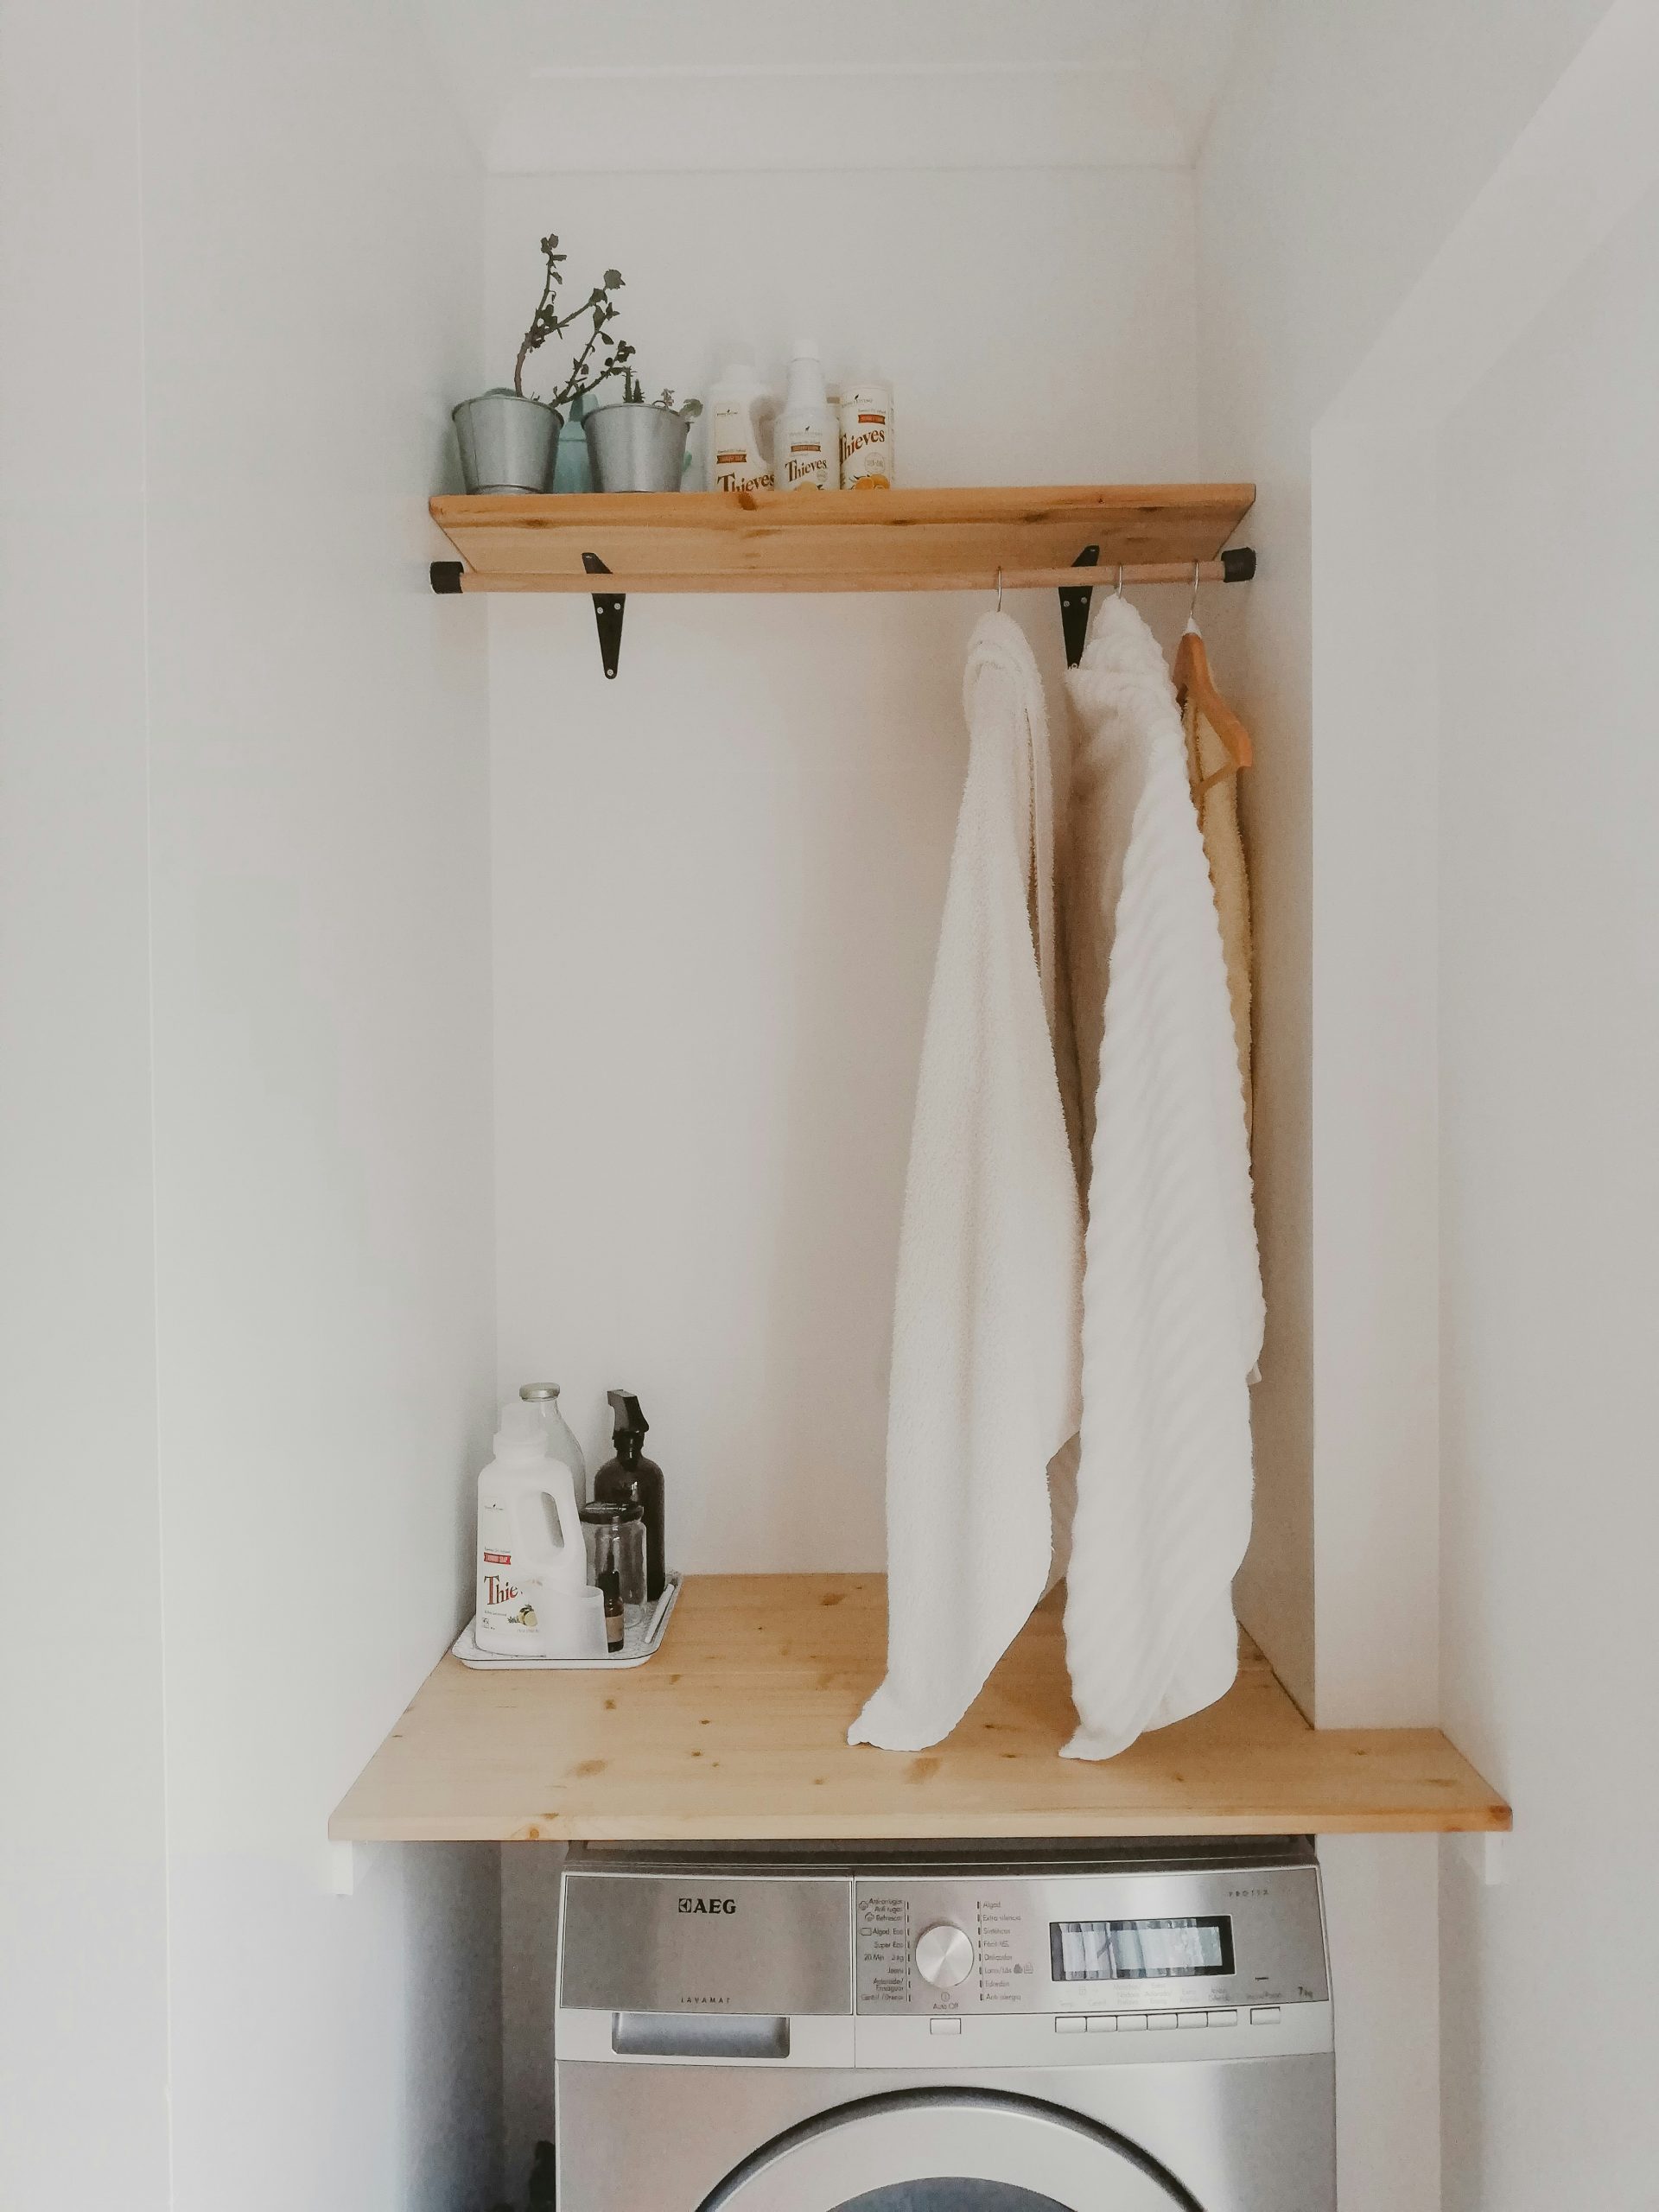
This isn’t just about slapping on a fresh coat of paint (although that’s a good start!). This is about transforming your utility room into a bright, airy, and even restorative space using the principles of biophilic design. Think of it as bringing the outdoors in, not just with a pot plant or two, but with colour palettes, materials, and layouts that mimic and celebrate the natural world. And best of all, it’s a DIY project that won’t break the bank. So, grab your overalls, roll up your sleeves, and let’s get started.
Step 1: Assessing the Light Situation (Or Lack Thereof)
The first order of business is understanding the light situation. Or, more accurately, the lack of light situation. Utility rooms are notorious for being dimly lit, often tucked away in basements or extensions. The key is to maximise what you do have. Take a good look at your existing windows (if you’re lucky enough to have them). Are they clean? Are they obscured by heavy curtains or blinds? Are there any trees or shrubs outside that could be pruned to let more light in?
Next, consider the walls. Dark colours absorb light, making a small space feel even smaller and gloomier. Time to neutralise those gloomy greys and depressing dark blues. You’ll want to choose paint colours that reflect light, and that’s where understanding Light Reflectance Value (LRV) comes in. LRV is a scale from 0 to 100, where 0 is pure black (absorbs all light) and 100 is pure white (reflects all light). As a general rule, aim for paints with an LRV of 60 or higher to really bounce the light around the room. Off-whites, pale greys, and light pastel shades are your friends here. Don’t be afraid of a touch of colour, but keep it light and airy.
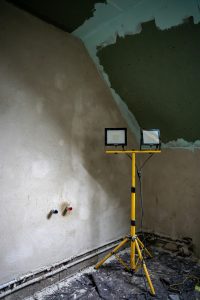
If natural light is severely limited, don’t despair! Artificial lighting can be your saviour. Consider layering your lighting scheme. A bright, overhead light fixture (perhaps with a cool-toned bulb to mimic daylight) is essential. Supplement this with task lighting over work surfaces and under-cabinet lighting to illuminate those dark corners. And don’t forget ambient lighting – a strategically placed lamp can add warmth and visual interest.
Step 2: Choosing Your Colour Palette
Now for the fun part: choosing your colour palette. Biophilic design is all about mimicking nature, so think greens, blues, browns, and yellows. But avoid anything too saturated or garish. You want to create a calming and restorative atmosphere, not a headache.
Consider these combinations:
- Earthy Neutrals: A base of creamy white or pale beige, accented with muted greens and browns. Think of the colours of a forest floor.
- Coastal Calm: A palette of soft blues, sandy beiges, and crisp whites. Evokes the feeling of a beach on a sunny day.
- Green Oasis: Various shades of green, from olive to sage to emerald, combined with natural wood tones. Creates a sense of lushness and tranquility.
Remember, the colour wheel is your friend. Use it to find complementary colours that will create visual interest without being jarring. And don’t be afraid to experiment! Use a paint calculator to estimate how much paint you’ll need, and order some sample pots to try out your chosen colours in the room before committing to a full gallon. You can even use a paint colour match tool to find the perfect shade inspired by a favourite leaf or flower.
Consider also the impact of NCS (Natural Colour System). It’s a logical colour order system, based on how we, as humans, see colour. When you start choosing your colours, it might be helpful to check out the NCS system, as it will help you define colours using the three properties that we perceive, namely hue, nuance, and intensity.
Step 3: Material Matters: Embracing Natural Textures
Biophilic design isn’t just about colour; it’s also about texture. Introduce natural materials to your utility room to create a tactile and inviting space.
- Wood: Natural wood shelves, worktops, or even just a wooden laundry basket can add warmth and character. Consider reclaimed wood for an eco-friendly touch.
- Stone: A stone floor or backsplash (even a faux stone effect) can bring a sense of grounding and connection to nature.
- Natural Fibres: Woven baskets, jute rugs, and cotton or linen curtains can add texture and softness to the space.
- Metal: If you’re incorporating metal into your design, consider opting for brushed or aged finishes that have a more natural look and feel. Avoid anything too shiny or polished, as this can feel sterile and impersonal.
Think about British Standards when choosing the materials and think about moisture resistance! It’s not only the visual texture you want to consider, but how it performs in a utility room.
Step 4: The Green Factor: Bringing Plants Indoors
No biophilic makeover is complete without plants! Plants not only add visual interest and beauty, but they also purify the air and boost your mood. Choose plants that thrive in low-light conditions and don’t require a lot of maintenance.
- Snake Plants (Sansevieria): These are incredibly low-maintenance and tolerate almost any lighting condition.
- ZZ Plants (Zamioculcas zamiifolia): Another very forgiving plant that can thrive in low light.
- Pothos (Epipremnum aureum): A trailing vine that looks great in hanging baskets or on shelves.
- Peace Lilies (Spathiphyllum): These elegant plants produce beautiful white flowers and are relatively easy to care for.
Don’t overcrowd the space with plants. A few well-placed specimens are more effective than a jungle of foliage. Consider using plant stands or hanging planters to add vertical interest and free up floor space.
Step 5: Organising the Chaos: Storage Solutions
A cluttered utility room is not a calming utility room. Invest in smart storage solutions to keep things tidy and out of sight.
- Shelving: Install shelves above the washing machine and dryer to store laundry supplies, cleaning products, and other essentials.
- Baskets: Use woven baskets to store smaller items, such as sponges, cloths, and dryer sheets.
- Cabinets: If you have the space, consider installing cabinets to conceal larger items, such as ironing boards and vacuum cleaners.
- Hooks: Hang hooks on the walls to store mops, brooms, and other cleaning tools.
When choosing storage solutions, opt for natural materials and colours that complement your biophilic colour palette.
Step 6: Finishing Touches: The Devil’s in the Detail
It’s important to pay attention to all the small details to enhance the utility room. Skirting boards and coving might need a fresh coat of paint, or replacement, to improve the aesthetic.
- Artwork: Hang a few nature-inspired prints or photographs to add visual interest.
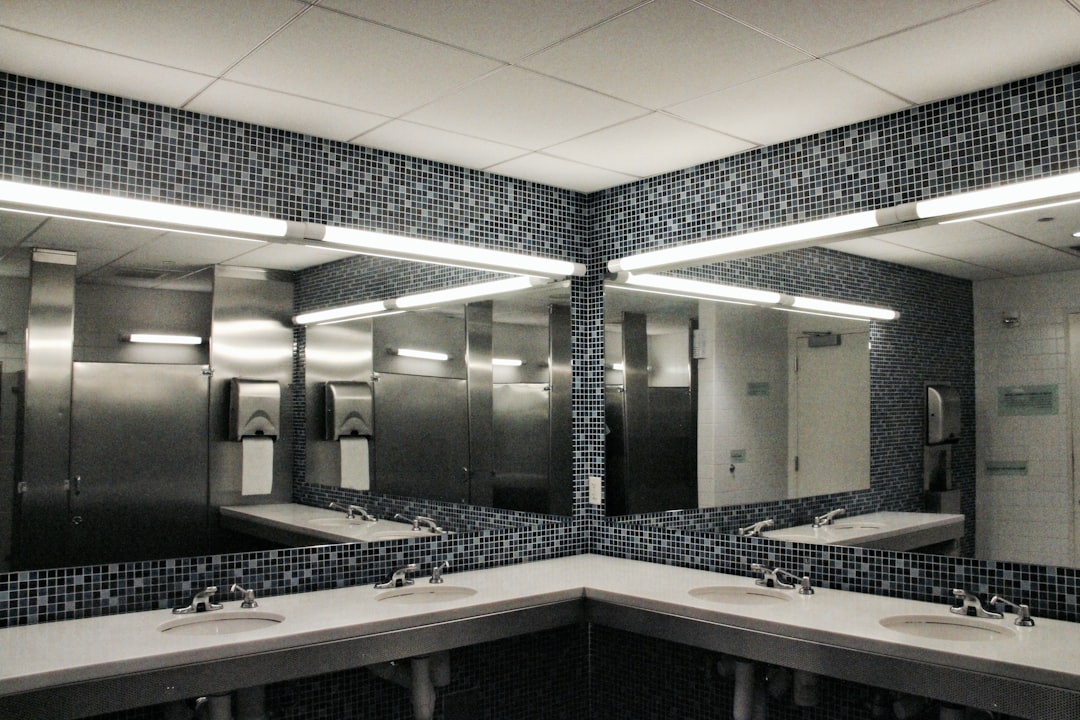
- Mirrors: Mirrors can bounce light around the room and make it feel larger.
- Essential Oil Diffuser: Use an essential oil diffuser to fill the room with a calming and refreshing scent. Lavender, eucalyptus, and peppermint are all good choices.
- Natural Cleaning Products: Switch to natural cleaning products that are free of harsh chemicals and artificial fragrances.
Step 7: Enjoy Your New Sanctuary
Congratulations! You’ve transformed your drab utility room into a fabulously biophilic sanctuary. Now, sit back, relax, and enjoy the peace and tranquility of your newly renovated space. You might even find yourself looking forward to laundry day (well, maybe not, but it will certainly be a more pleasant experience). Remember, this is a space designed to be functional and beautiful, a place where you can connect with nature and recharge your batteries.
Photography by Janice Liao via Unsplash, Celest So via Unsplash, the blowup via Unsplash